
Adamantem Tote Bag


The Adamantem Tote Bag is done y'all! I've had this bag in the back of my mind for a few months now, and I'm so excited to see it done! Like most designs, it's not originally what I had in my mind, but I love the way it came out. I came up with the name by simply looking up "diamond" in Latin which is Adamantem. I thought it was a pretty name, so I stuck with it.

The Adamantem Tote Bag  is lightweight and easy to carry small things. The tight stitches help prevent it from stretching out when holding heavier things. The design is simple and clean utilizing knit and purl stitches. The top border is in seed stitch and a contrasting color to the rest of the bag. The body of the bag features a diamond design. Have you seen that stitch definition?? The edges use selvedge stitches which makes seaming super easy.  It is a classic look that will never go out of style. 


I used leftover Stylecraft Chunky yarn from the Blanket Sweater I knitted a few months ago. This yarn is so soft but feels very durable. I thought it would work great for a small tote bag like this one, and I think I was right.


Difficulty: Easy

Skills:
Cast On
Knit and Purl in the same row
Cast-Off
Sewing/Seaming

Materials:
Knitting Needles: US 9/5.5 mm (24” circulars are best because there are so many stitches)
Yarn: Stylecraft Special Chunky in Duck Egg (15 yds) and Cream (210 yds)
Darning Needle
Leather Purse Straps
Embroidery Needle
Embroidery Floss
(links to some of these items provided in pattern)

Gauge:
17sts x 24 rows = 4"

Finished Produce Measurements (after seaming): 14.5" x. 12"

Abbreviations
st(s) = stitch(es)
*...* = repeat pattern between “*”
SL1K = slip 1 stitch knitwise
P = purl
K = knit

Pattern:

Color A = Duck Egg; Color B = Cream


Cast on 51 sts


In color A

Row 1-5: SL1K, *P1, K1* until the last 2 sts, P2


In color B

Row 6: SL1K, *P1, K1* until the last 2 sts, P2


Start the repeat pattern, in color B

Row 7 (RS): SL1K, K6, *P1, K11*  until the last 8 sts, then P1, K6, P1

Row 8 (WS): SL1K, P5, *K1, P1, K1, P9* until the last 9 sts, then K1, P1, K1, P6

Row 9: SL1K, K4, *P1, K3, P1, K7* until the last 10 sts, then P1, K3, P1, K4, P1

Row 10: SL1K, P3, *K1, P5* until the last 5 sts, then K1, P4

Row 11: SL1K, K2, *P1, K7, P1, K3* until the last 12 sts, then P1, K7, P1, K2, P1

Row 12: SL1K, P1, *K1, P9, K1, P1* until the last st, then P1

Row 13: SL1K, P1, *K11, P1* until the last st, then P1

Row 14: SL1K, P1, *K1, P9, K1, P1* until the last st, then P1

Row 15: SL1K, K2, *P1, K7, P1, K3* until the last 12 sts, then P1, K7, P1, K2, P1

Row 16: SL1K, P3, *K1, P5* until the last 5 sts, then K1, P4

Row 17: SL1K, K4, *P1, K3, P1, K7* until the last 10 sts, then P1, K3, P1, K4, P1

Row 18: SL1K, P5, *K1, P1, K1, P9* until the last 9 sts, then K1, P1, K1, P6


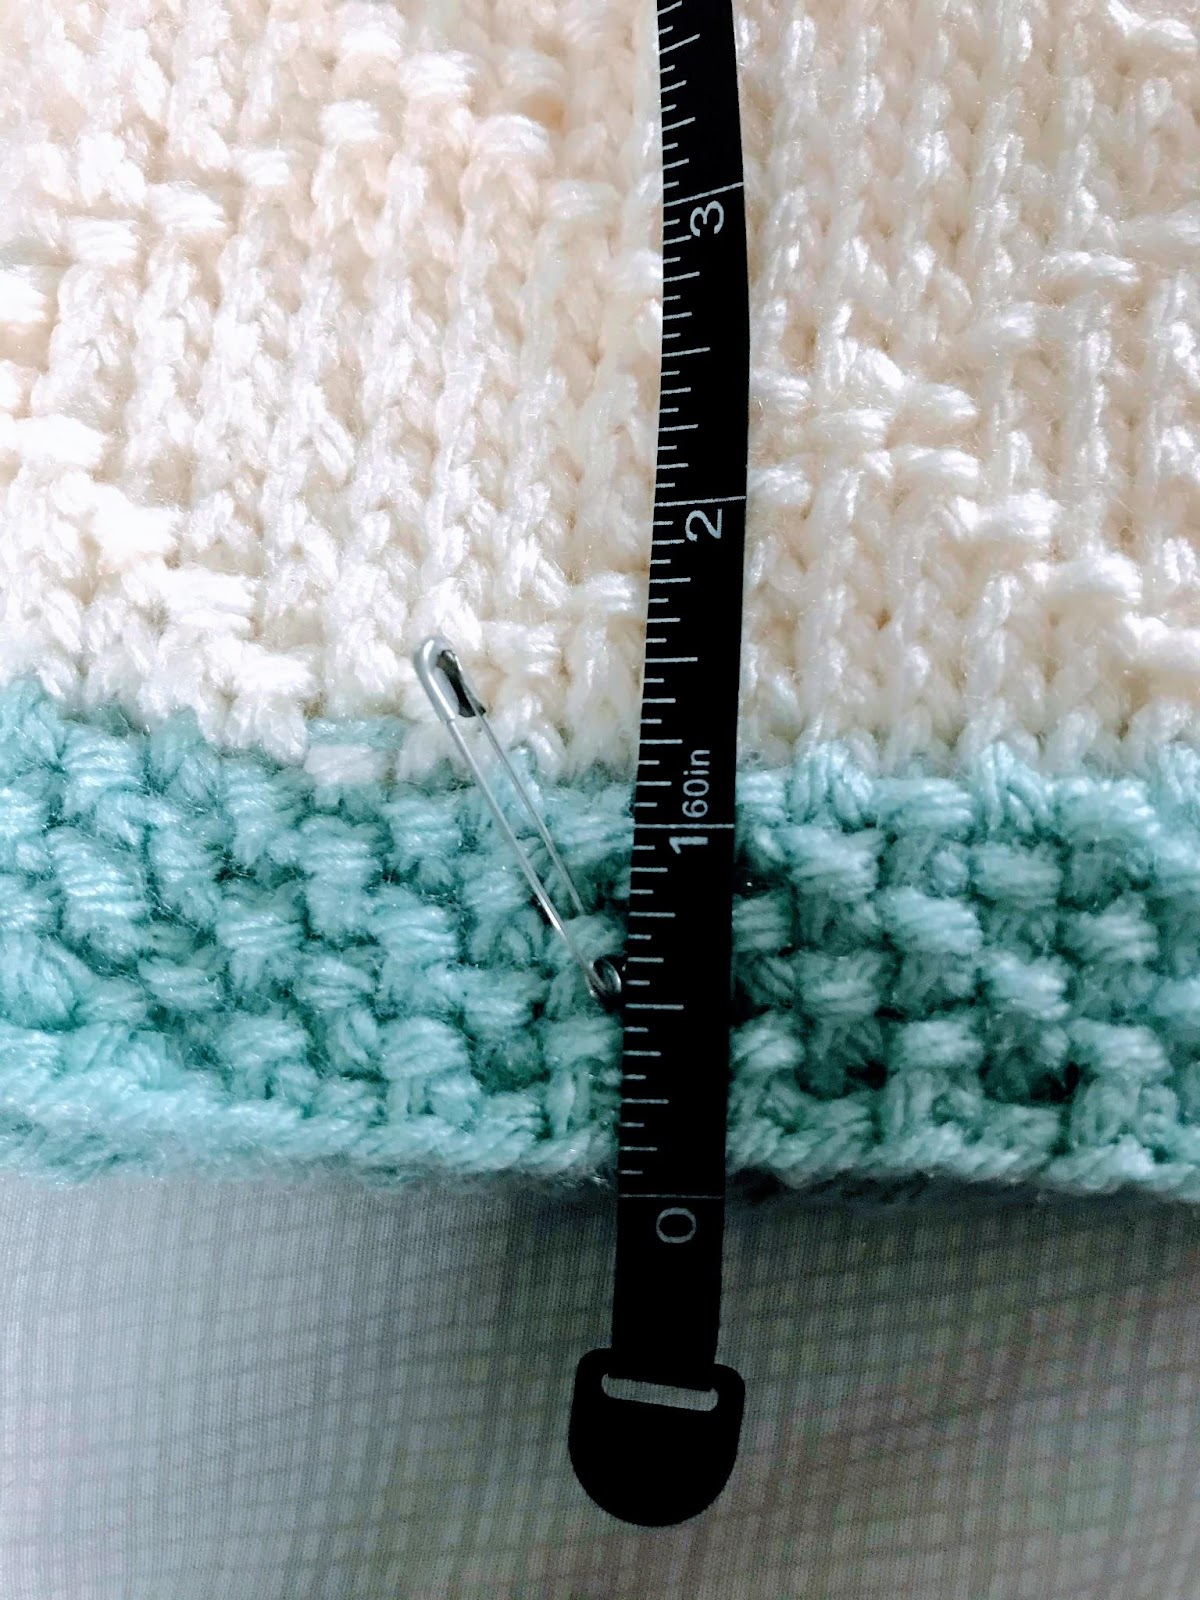
Repeat Row 7-18 until your work measures approximately 29” from the cast-on edge (about 13 repeats).


In color A

Repeat only Row 7 one more time.

Repeat Row 1-5


Cast-off in pattern


Seaming and Construction:

  1. Fold knitted work in half to form the shape of the bag.

  1. Seam sides using mattress stitch starting from the top edge to the bottom.

  1. Attach purse handles at 2.5” from either side the side edge and 0.5” from the top edge.


If you have any questions, please feel free to reach out to me!

If you share photos on Instagram, please feel free to use #AdamantemToteBag and tag me (@knitting_with_sara) so I can see your tote bag!

Comments

Popular posts from this blog

Dog Hat

A few weeks ago, a good friend approached me about my knitting a hat for her dog. She sent me a picture that she saw on social media of a Corgi looking adorable in a hat, and decided her dog, Walter, needed one as well. What I didn't tell her was that the picture she sent me was of a crocheted hat. Unfortunately, I do not know how to crochet, and, at this point, I don't think I'll ever learn (but who knows, I'm still young). I make this point because, in my opinion, crocheting is great for freeform-type projects like dog hats. Again, I am unfamiliar with crocheting, so I could be way off base here.  Knitting  a hat for a dog was going to be a challenge, and I knew that from the very beginning. I spent weeks (okay with many days off in between) studying the picture my friend sent me trying to figure out just how I was going to construct this thing. Just when I thought I had cracked it, I noticed another part of the hat that I hadn't considered. I compiled quite a lon

Mermaid Soap Saver Bag

* When shopping using some of the links provided below, I may benefit from it. I am not paid to advertise these products, I just truly believe in them and the company.  I've recentlly decided to #giveupthebottle and start using bars of soap instead of liquid soap in plastic bottles! When I started researching shampoo, conditioner, and soap bars, one thing became clear - a soap saver bag was necessary to extend the life of my bars. I thought to myself, why buy one when I can just make one? Plastic production has nearly doubled in the last 50 years. Did you know that 18 million pounds of plastic ends up in the ocean every year? Research predicts that there will be more plastic in the ocean than fish by 2050. Only 9% of plastic is recycled. Product packaging accounts for about 40% of plastic usage. This plastic never goes away because it is not biodegradable. It may break down into smaller pieces called microplastics, which human and sea creatures then injest. Humans consume an averag

Trio of Wall Hangings

Since moving into my new place, I have been trying to find something to hang over my bed. I looked at a lot of artwork online, but didn't see anything I liked in the very specific colors that I wanted. So what do I do when I can't buy something I want? I make it! Specifically, I knit it, of course. I actually looked into doing something macrame before deciding on knitting. The biggest deciding factor for these wall hangings was the fact that I already had the dowel rods. This made deciding the yarn weight pretty easy. I had to use yarn that would look decent on 4.5mm needles because my dowel rods were about 4mm thick. Narrowing down the yarn weight helped a lot, but there were still many yarn possibilities. I was looking for very specific colors. I spent a lot of time looking at yarn online but was too nervous to buy it in case the color was off. I deciding to check out the yarn store around the corner from where I work, so I could look at the yarn colors in person. Would you b